How to build a Craps Table Part 2
Posted August 9, 2012This is Part 2 of my craps table build.
It gets a little better and starts to take over the basement.
We are playing on our usual Wednesday night, and my wonderful wife comes downstairs and drops a big cardboard box in the middle of the table. She says, “Happy Birthday”!
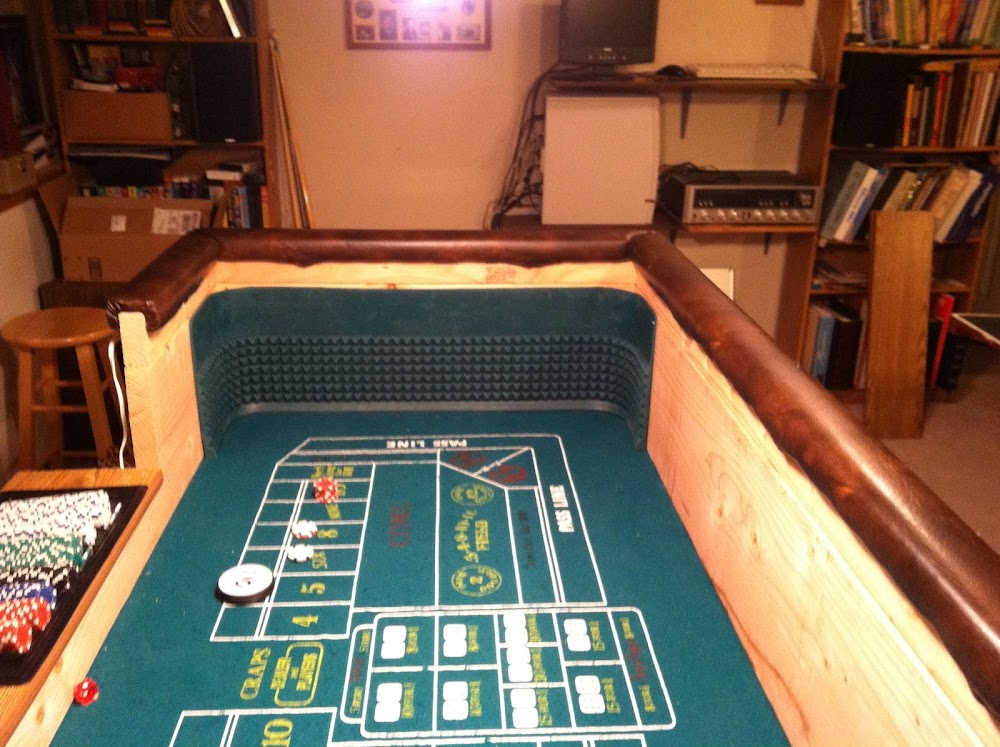
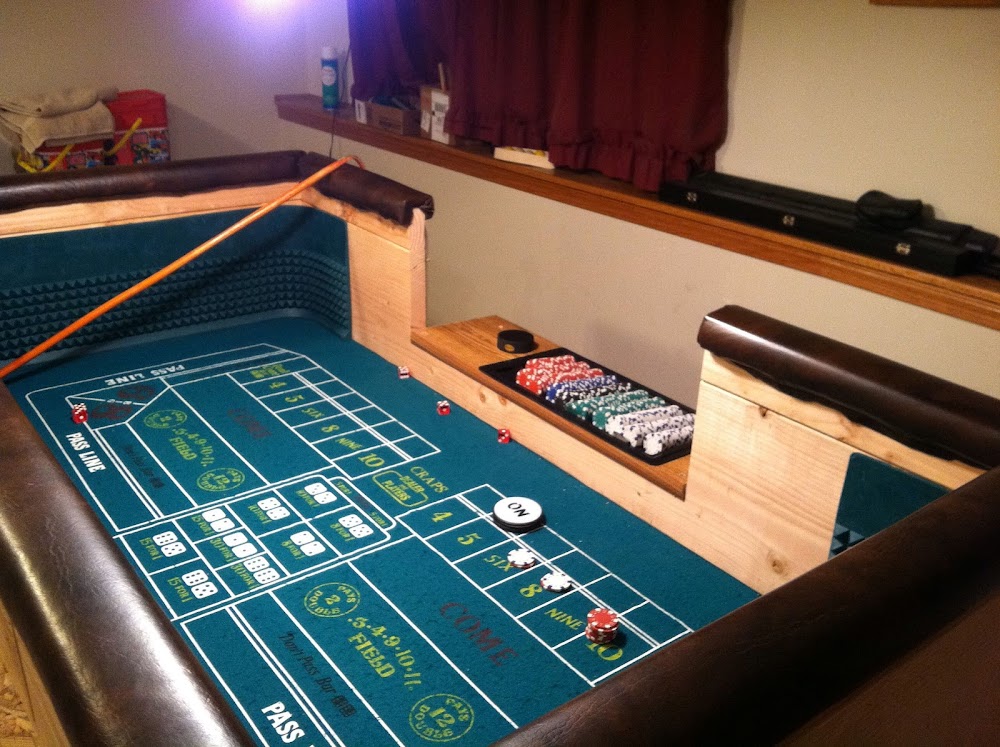
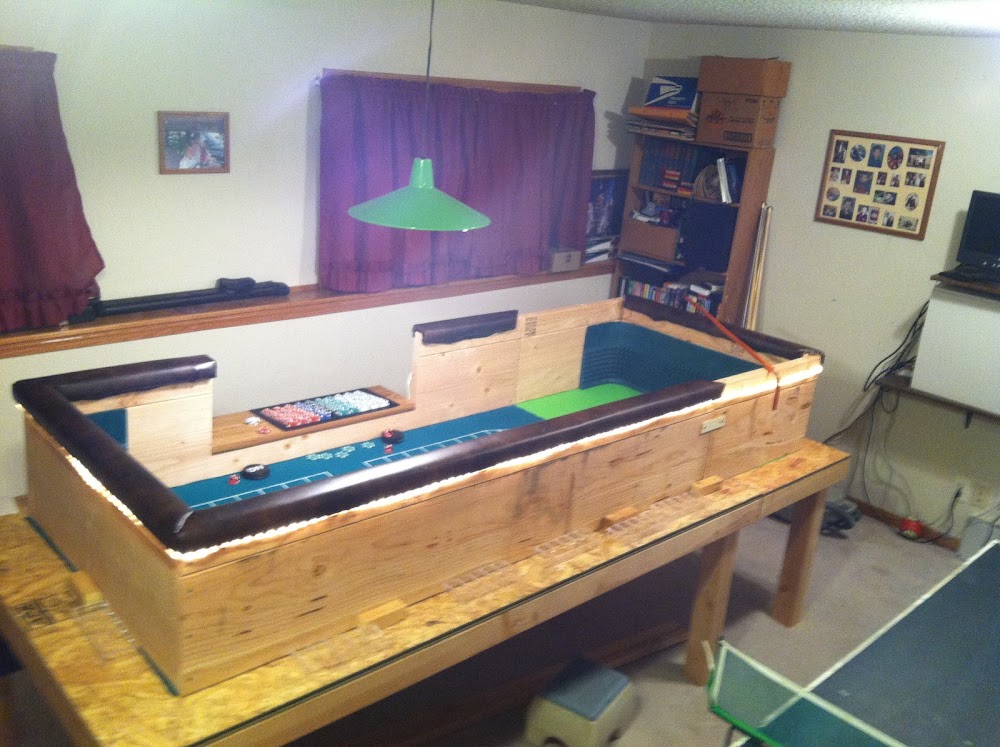
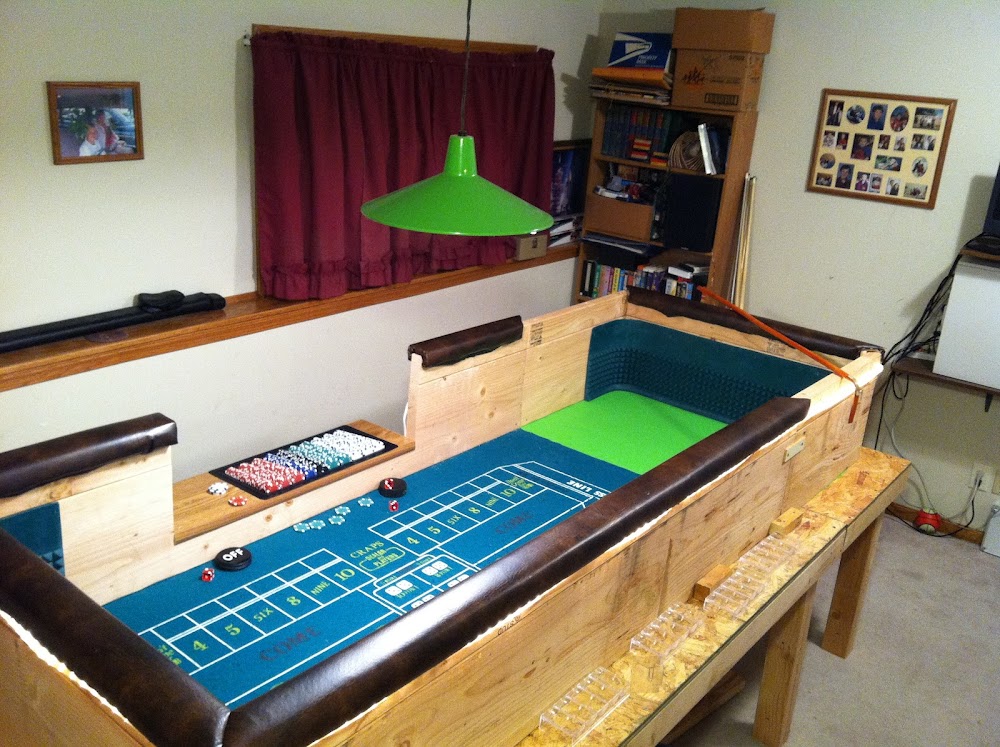
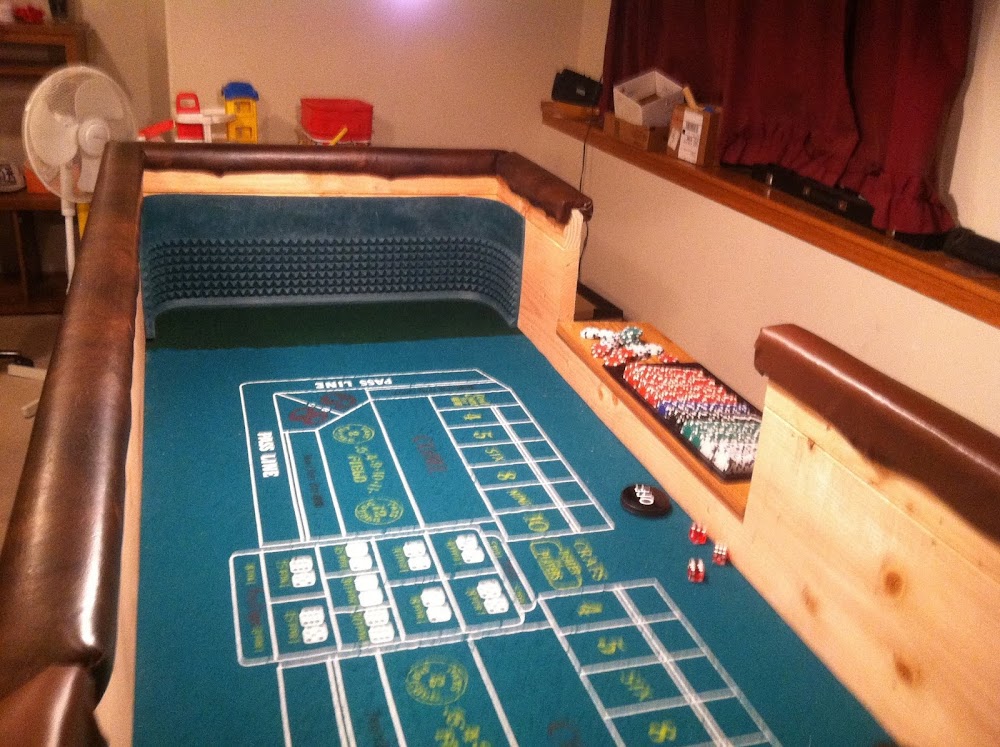
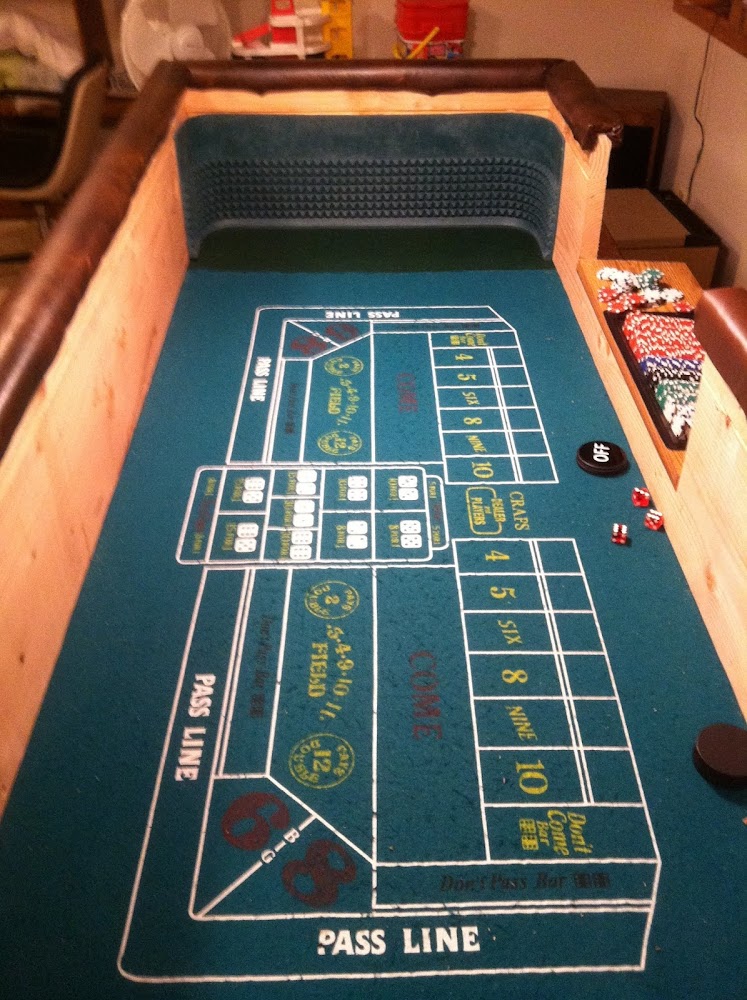
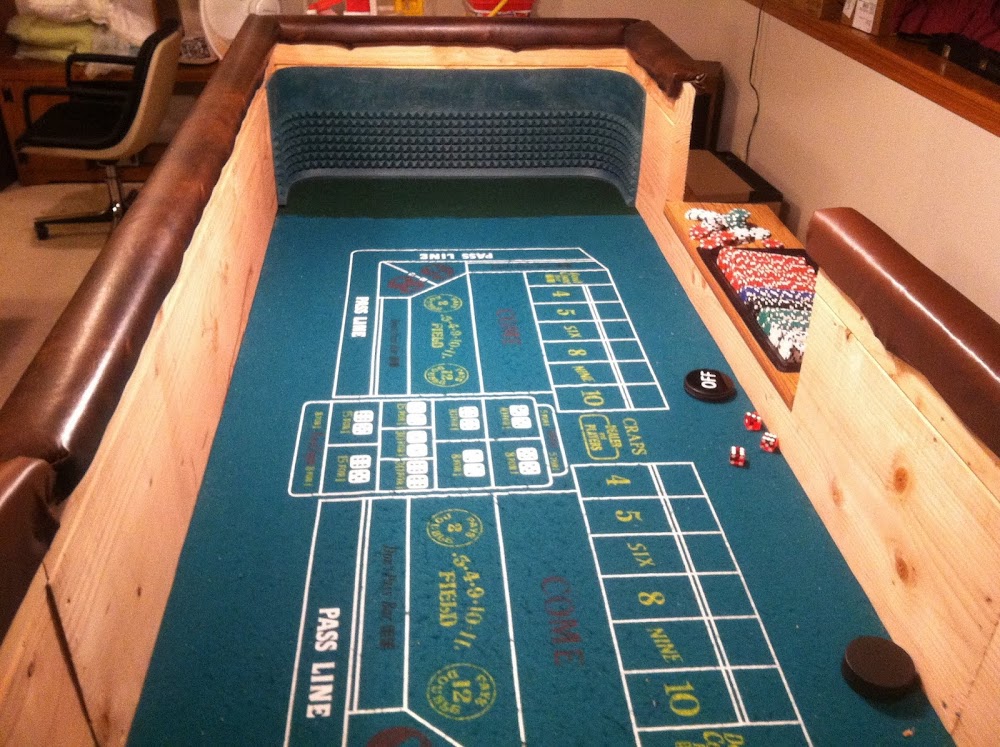
We open it up and there is the diamond shaped ends for the table! I had been really wanting these, but they are expensive.
Without them you really can’t practice dice control at home.
Now the problem:
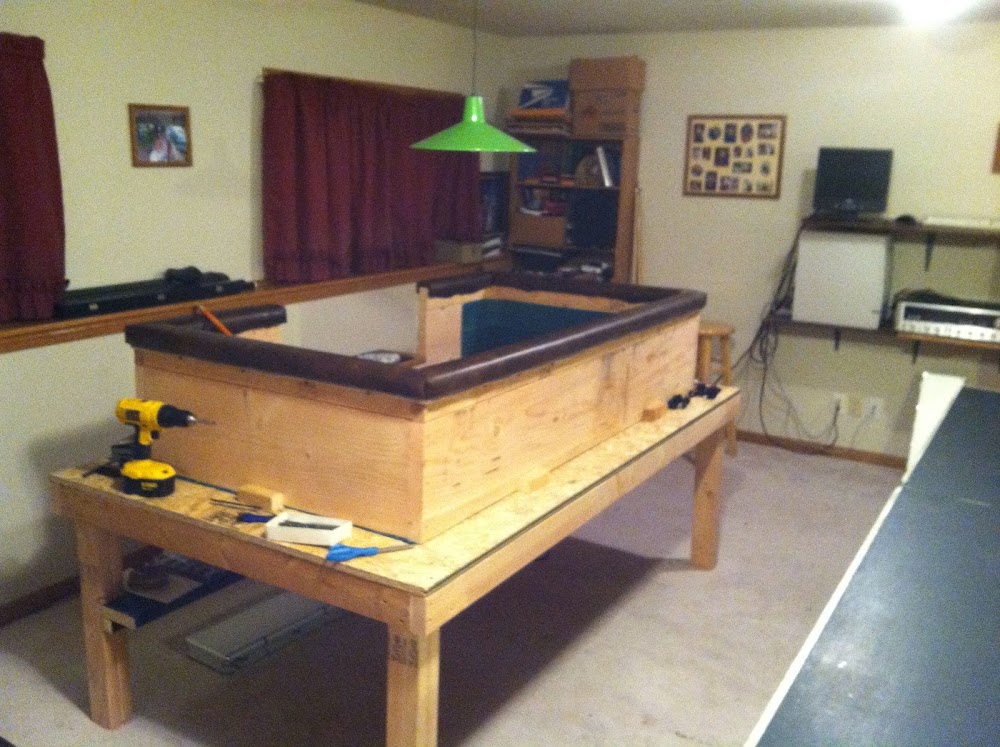
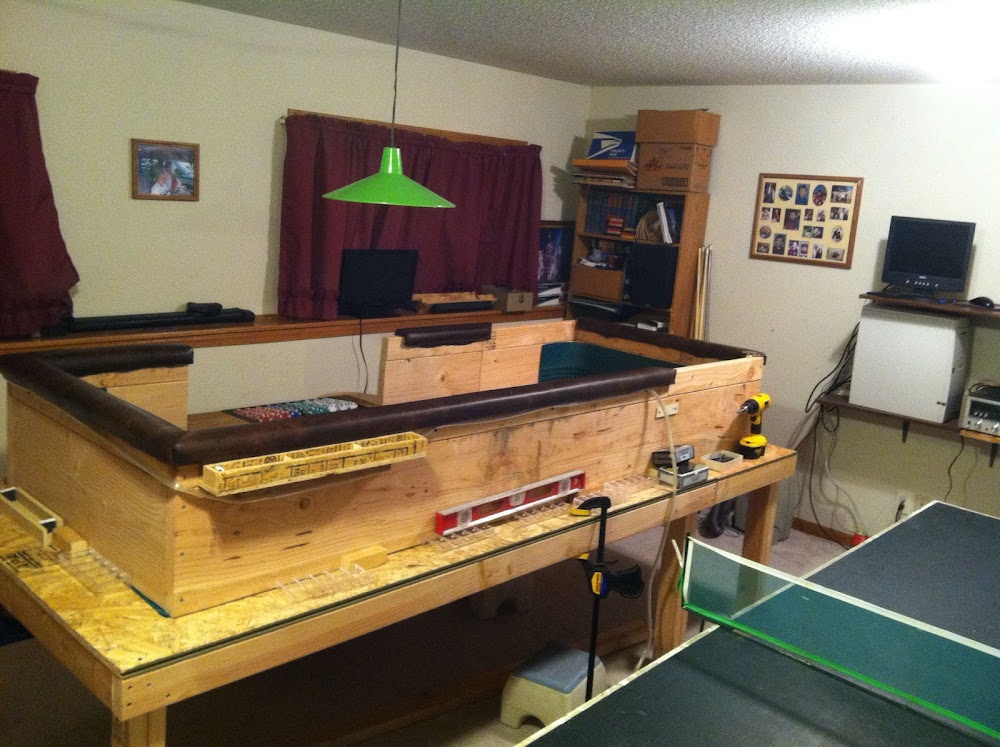
The diamond ends are 11″ tall and won’t fit on my waterbed walled table without trimming them. I don’t want to do that, so here we go again.
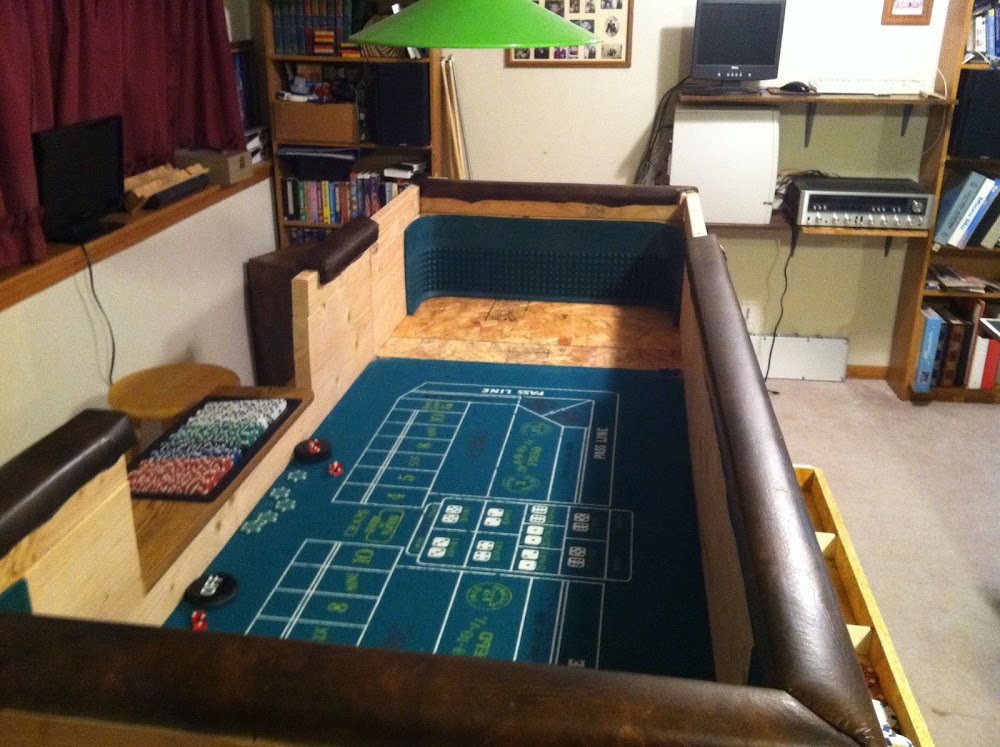
I buy some 2×12 lumber from the local lumberyard and build another box. I find that with the waterbed padded rails hanging on the side, it won’t be tall enough to clear the diamond ends. I add another layer of 2×4’s on top of that. This thing is getting really tall now.
I also put it on it’s own legs and set it next to the pool table. The pool table has a new top on it as well. A full size ping pong table!